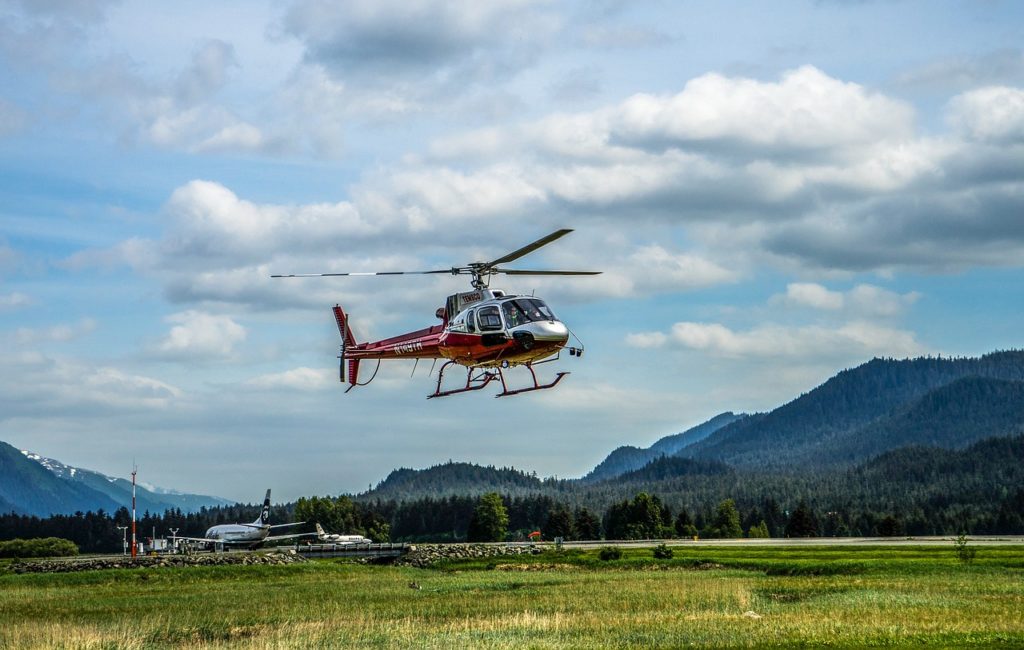
Helicopter Liftoff: How Does the Speed of the Rotor determine Lift?
Remote-controlled helicopters usually come in various designs and shapes. The blades found on top of these helicopters form the main rotor. The blades are narrow and shaped just like airfoils. Airfoils have a particular shape that enables the helicopter to cut through the air in an efficient way that produces lift. The section of the blade which passes via the air first is known as the leading edge. Once the leading edge is tipped as it moves, the helicopter blade will have a clear angle of attack. When this angle of attack rises, more air will be forced downwards by the blades. That will force the helicopter’s blades up, and its rotor will provide the lift required to make your helicopter fly.
Experimenting how the speed of the rotor determine its lift
In this experiment, you will determine the speed of your helicopter’s rotor utilizing a digital tachometer. Your output is calculated in revolutions per minute (rpm), which means that you may need to take into account the number of blades to get the rpm. The objective is to determine how the rate of the rotor’s rotation is associated with the hovering, ascending, and descending of the helicopter.
Materials and equipment needed
- A remote-controlled helicopter, which is available at departmental stores, toy shops or online
- Tape measure
- Tape
- Digital Tachometer, available online on Amazon
- Stopwatch
- Safety goggles
- Optional: Digital scale
- Optional: Video camera
- Optional: Gloves, to offer protection from the helicopter rotor blades
- Helpers (3, including you)
- Notebook
Procedure
Preparing for the experiment
- Assemble the remote-controlled helicopter.
- Practice flying your helicopter such that you can make it move vertically up, move vertically down and hover.
- Put the helicopter in a flat spot on the ground.
- Put the tape measure close to your helicopter.
- Pull your tape out to approximately 2 meters.
- Lock your tape measure open making a 2-meter vertical measuring standard.
- Bring your remote-controlled helicopter to a suspended position at around 0.5 meters above the ground.
- Have one of your helpers record the rotation rate in your notebook, utilizing the digital tachometer.
- As an alternative, weigh your helicopter. Note the helicopter’s weight in your notebook. The lift given when your helicopter is flying is equal to the weight of your helicopter.
Calculating rotor rotation and the rate of Ascent
- Begin with the remote-controlled helicopter on the ground close to the tape measure.
- Place the helicopter in a hovering position at around one meter above the ground.
- Ask one of your helpers to read the rotations per minute utilizing the tachometer from beneath your helicopter.
- Increase the speed of the rotor to allow your helicopter to hover vertically upward. In general, the rate of vertical ascent must be steady and slow.
- The helper having the tachometer must record the rpm as your helicopter flies upward.
- Have the helper use a timer to measure the duration it takes for your helicopter to fly from one meter to two meters. To get more accurate readings, you can increase the length of your tape measure to three meters or even higher. Note the ascent rate in meters per second and the consequent rate of rotor revolution. As an alternative, you can video record the entire flight of the remote-controlled helicopter to assist you in collecting the data.
- You should repeat steps one to six two additional times, recording both the rotor rpm and the rate of ascent each time. Repeating these experiments will ensure that your results will be more accurate. Try as much as possible to keep the ascent rate consistent.
- Finally, repeat steps one to seven utilizing a different ascent rate.
Calculating rotor rotation and rate of descent
- Begin with the helicopter flying at the height of two meters.
- Have one helper measure the rotor’s rpm from below.
- The other helper should use a timer to measure the time it takes your helicopter to descend.
- Begin the helicopter’s descent. You can descend it from two meters to one meter. The descent of the helicopter should be steady and slow to enable the helper to get a reading on your tachometer.
- Compute the descent rate in meters per second (m/s).
- Note down the rate of descent as well as the subsequent rotor rpm in your notebook.
- You should repeat steps 1 to 6 to get data for two additional rates of descent. Ensure that you keep the descent rate of the helicopter consistent.
- Finally, repeat steps 1 to 7 utilizing a different level of descent.
Verifying Your Results
- For every rate of descent or ascent, compute the average of the rpm’s you calculated.
- Graph the degree of descent and ascent on the x-axis and the computed average rate of rotations of the helicopter rotor on the y-axis.
- On your x-axis, use the positive numbers for your ascending helicopter, zero for the hovering helicopter, and the negative numbers for your descending helicopter. For instance, a helicopter that descends at one meter in ten seconds will have a rate of -0.4 m/s.