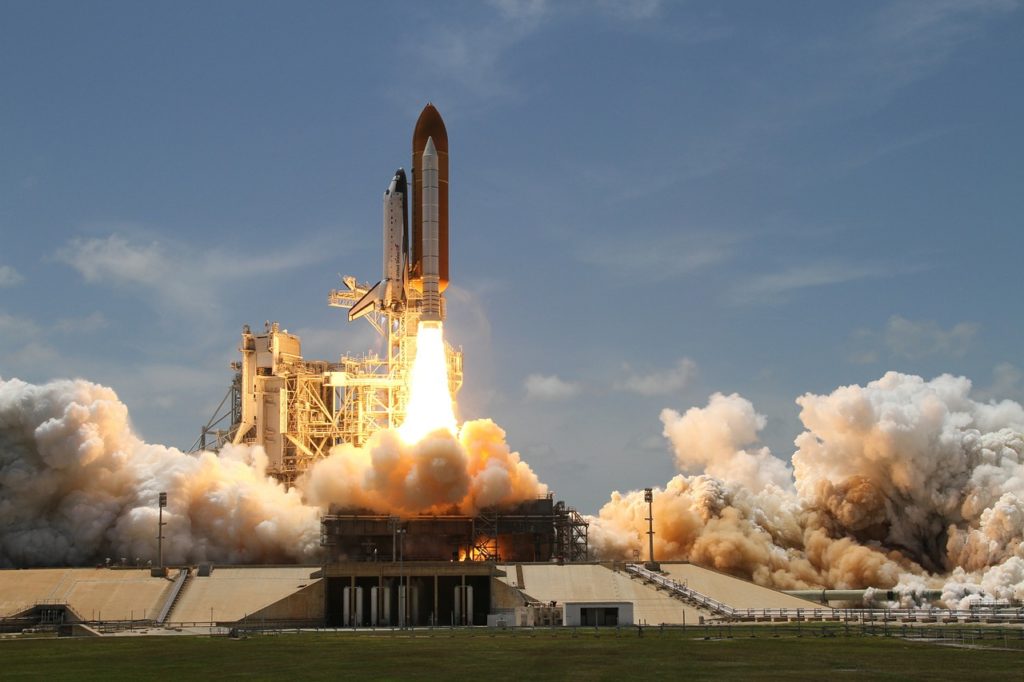
Regardless of the size, every rocket should have a body, fins, a propellant system, and a nose cone. The body is usually the main part of the rocket. This segment holds most of the electronics required to control big rockets. The aerodynamic structure of the nose cone assists in preventing air from slowing your rocket. The fins help direct the rocket to fly straightforwardly. The propellant system consists of a combination of fuel and a certain chemical known as an “oxidizer” which gives off oxygen. The oxidizer and fuel usually burn together to help in launching the rocket from the ground.
Investigating aerodynamics in rockets
In this experiment, we will design a water rocket to help you understand simple aerodynamics since the body of your rocket will directly affect the light path, the descent, and the height reach. A water rocker displays two incredibly essential laws, Newton’s third law and the law of momentum conservation. That makes it a pretty good science experiment, but it’s incredibly exciting.
Materials needed
- A foot pump
- Soda bottle
- An air valve (like the one used for blowing up basketballs and soccer balls)
- Half a liter of water
- A rubber cork
- A wide open area
Procedure
- Get a soda bottle with a well-streamlined shape. Turn your bottle upside down and ensure that the cork fits properly and provides you with a good seal.
- You should drill a small hole through your cork such that the hole is somehow smaller than your air valve to allow the air valve to get tightened to ensure a secured fit.
- Attach the fins to your rocket. You can accomplish using two thick rings by and cutting a total of three right-hand triangles from a flexible plastic. One of the rings should be big enough to rest nicely on the body of your bottle, and the other one should only be slid past the opening of your bottle.
- Cut two notches in every fin so they can get attached while touching the rocket’s body and with the two rings running through the fins. Use epoxy to connect the rings and fins.
- Add a nose cone that will enhance the aerodynamics of the rocket, and it will also serve as a crumple area on impact. The nose cone can be made using a piece of some hard card, which is rolled into shape and then cello taped down.
- Since your water rocket is now finished, you can begin creating a launch pad which will be useful to the flight path of the rocket. The launch pad can be made using three long straight sticks stuck into the ground near the rocket. That will prevent your rocket from going off the path during takeoff.
- Find an open place where there are no innocent bystanders or houses which can be hit by your rocket when taking off or landing. Fill a third of the rocket with water. Fix the air valve and the cork which must be attached to your foot pump.
- Begin pumping and prepare yourself well to see Newton’s third law in real action and then launch the rocket.
Results
The water will be pushed out at a terrific speed, and your will rocket then shoot up.
The science behind the experiment
The rocket functions by releasing a huge amount of pressure via a small nozzle generating thrust. The water is usually pushed out at a pretty high speed and because Newton’s third law dictates that for each action there’s an opposite and equal reaction. The water shooting out of the rocket’s nozzle is the real action, and the act of the rocket flying towards the sky is our reaction. The main reason for using water instead of air is because the water has a substantial mass.
We filled two-thirds of your bottle with air since unlike liquids, all gases can get compressed. That means that as you continue pumping more and more air into your bottle the pressure begins to rise and the molecules of air bunch up together. In the same way, a compressed spring works, the gases quickly expand whenever they are released squirting the water out and shooting your rocket up.
